How To Create Low Poly Grass In Blender
Low poly grass can add a touch of realism and vibrancy to your 3D scenes while maintaining a stylized aesthetic. In this blog, we will walk you through a step-by-step process for creating low poly grass in Blender.
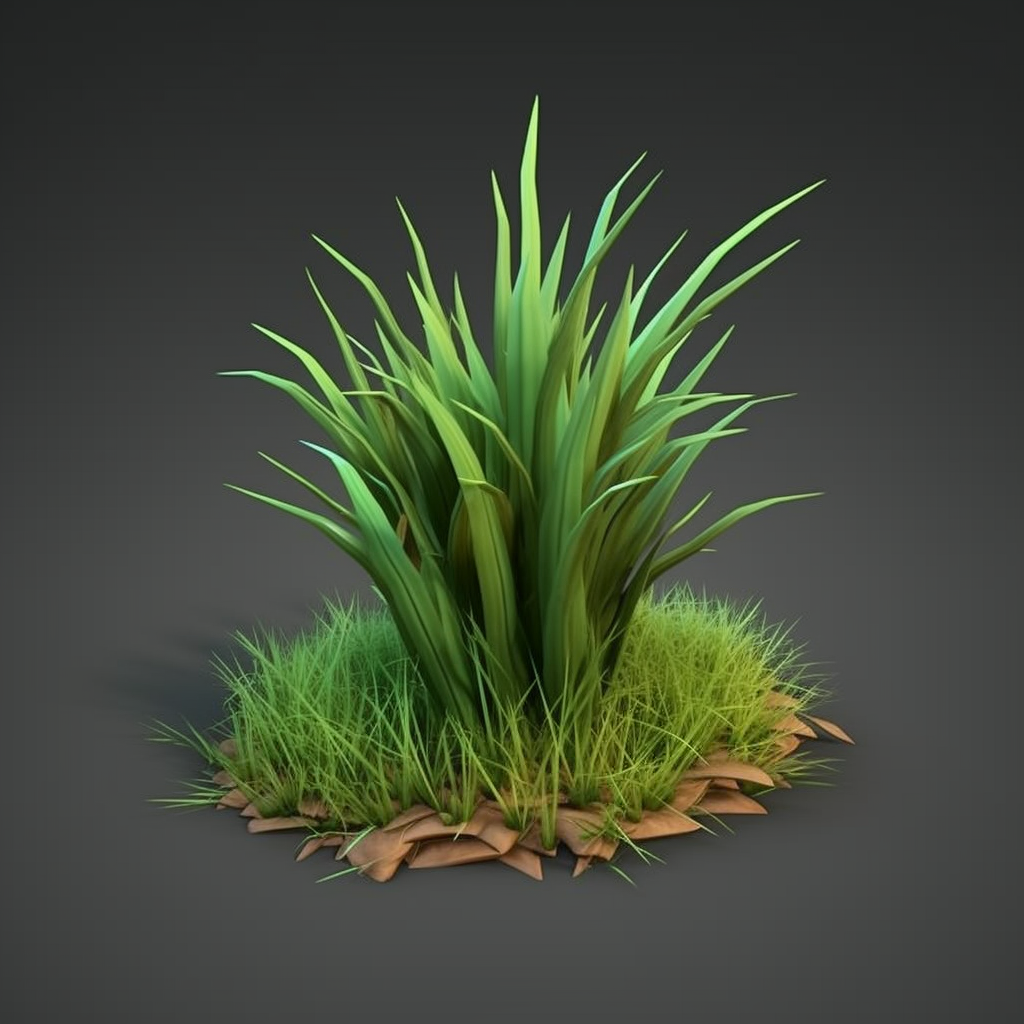
Low poly grass can add a touch of realism and vibrancy to your 3D scenes while maintaining a stylized aesthetic. In this blog, we will walk you through a step-by-step process for creating low poly grass in Blender. With these techniques, you can empower yourself as a 3D creator and artist, adding life and detail to your virtual environments. Let’s dive in and bring some greenery to your creations !
Step 1: Setting up the Scene
Open Blender and delete the default cube by selecting and pressing the “Delete” key. Next, switch to the “Layout” workspace and ensure you have a proper perspective for working with grass. Adjust the camera angle or position as needed
Pro Tip: After adjusting the camera angle or position, you may want to restrict its movement to specific axes or angles.
Step 2: Creating the Grass Blades
To begin, we will create a single grass blade model that can be duplicated and scattered across the scene.
- Add a plane to the scene by pressing “Shift + A” and selecting “Mesh” > “Plane.”
- Enter Edit Mode by pressing the “Tab” key.
- Scale the plane along the Y-axis to elongate it, representing the shape of a grass blade, You can use the “S” key, followed by “Y,” and adjust the size according to your preference
- With the plane selected, add a Subdivision Surface modifier by going to the Properties panel (the wrench icon) > “Modifiers” > “AddModifier” > “Subdivision Surface.”
- Increase the “Subdivision” levels to give the grass blade more geometry and smoothness. A value around 2 or 3 should work well for most cases
- Exit Edit Mode by pressing the “Tab” key
Pro tip: While increasing the subdivision levels adds more geometry and smoothness to the grass blades, it can also significantly impact the performance of your scene, especially when duplicating and scattering numerous blades. To optimize performance, you can experiment with the “Render” and “Viewport” settings in the Subdivision Surface modifier.
Step 3: Shaping the Grass Blade
This step will shape the grass blade to achieve a more natural and organic look.
- Enter Edit Mode again by selecting the grass blade and pressing the “Tab” key
- Use the various transformation and editing tools in Blender to sculpt the shape of the grass blade. Manipulate the vertices, edges, and faces to create bends, twists, and variations along the blade’s length
- Experiment with scaling, rotating, and translating different parts of the blade to add subtle irregularities and make it more lifelike.
- Once satisfied with the shape, exit Edit Mode by pressing the “Tab” key.
Pro tip: While manually manipulating individual vertices, edges, and faces can produce desired results, using proportional editing can enhance the natural and organic look of the grass blade.
Step 4: Adding Material and Texturing
Now it’s time to give your grass blades their characteristic appearance by adding materials and textures
- In the Properties panel, switch to the “Material Properties” tab (the sphere icon)
- Click the “New” button to create a new material for the grass blades.
- Adjust the material settings according to your desired appearance. Start with a vibrant green colour for the base colour
- To add texture and realism, click the small circle next to the base colour and select “Image Texture.”
- Choose or create a suitable grass texture image. Adjust the mapping and scaling options to control the texture’s appearance on the grass blades.
- Add additional material properties such as roughness and transparency to achieve the desired look.
Pro Tip: While using image textures for grass blades can provide great visual detail, incorporating procedural textures alongside them can enhance realism and variation. Procedural textures, such as noise, Voronoi, or Musgrave, can be added as additional texture nodes in the material node editor.
Step 5: Duplicating and Scattering the Grass Blades
With the grass blade model and material ready, we can now duplicate and scatter them across the scene to create the illusion of a grassy environment.
- Select the grass blade model
- Press “Shift + D” to duplicate it
- Move the duplicated grass blade to a new position using the transformation tools (G, R, S)
- Repeat steps 2 and 3 to create multiple instances of grass blades, varying their positions and rotations to achieve a natural distribution
- To speed up the scattering process, you can use Blender’s particle system or an add-on like “Grass Free” or “Graswald.” These tools provide efficient ways to distribute and control the density, height, and randomness of the grass blades
Pro Tip: When duplicating and scattering the grass blades, it’s important to introduce subtle variations to avoid a repetitive and artificial appearance. Instead of manually adjusting each duplicated blade individually, you can use Blender’s modifiers procedural techniques to add randomness effortlessly
Step 6: Rendering and Final Touches
Once you have scattered the grass blades, it’s time to render your scene and add the final touches for a polished result
- Set up your desired lighting and camera angles to capture the scene effectively
- Configure the render settings according to your requirements, including resolution, image format, and quality
- Consider adding additional elements to the scene, such as rocks, flowers, or trees, to enhance the overall environment
- Experiment with different render settings, such as depth of field or motion blur, to add realism and artistic effects
- Hit the Render button to generate the final image or animation of your low poly grassy scene
Pro Tip: After rendering your scene, you can enhance and refine the final image or animation by utilizing Blender’s compositor. The compositor allows you to apply various post-processing effects, such as colour grading, vignettes, bloom, or depth-based effects, to add a professional touch and enhance the overall visual impact.
Environments where you can use Low Poly Grass:

- Outdoor Landscapes: Low poly grass can be used to cover large expanses of land in outdoor environments. It is suitable for meadows, fields, plains, and other open areas. It can help create a lush and natural environment
- Parks and gardens: Integrate low poly grass in park scenes or garden designs. It can be used to cover lawns, pathways, and flowerbeds, adding a touch of realism and vibrancy to these outdoor spaces
- Sports field: Low poly grass can be used to create sports fields such as soccer fields, football fields, or baseball fields. It helps convey the texture and appearance of well-maintained grassy surfaces
- Natural reserves and national parks: In scenes representing nature reserves or national parks, low poly grass can be used to create natural habitats for wildlife. It can be combined with other elements such as trees, rocks, and water features to complete the ecosystem
- Fantasy environments: Low poly grass can also be used in fantasy settings to create surreal or otherworldly landscapes. It can be combined with vibrant colours or unique textures to bring a touch of magic to the scene
Conclusion:
By following this step-by-step guide, you have gained the skills and knowledge to empower yourself as a 3D creator and artist. Experiment with different variations, textures, and scattering techniques to add depth and realism to your grassy environments. Let your creativity flourish and enjoy the process of creating captivating low poly landscapes with beautiful grass.


