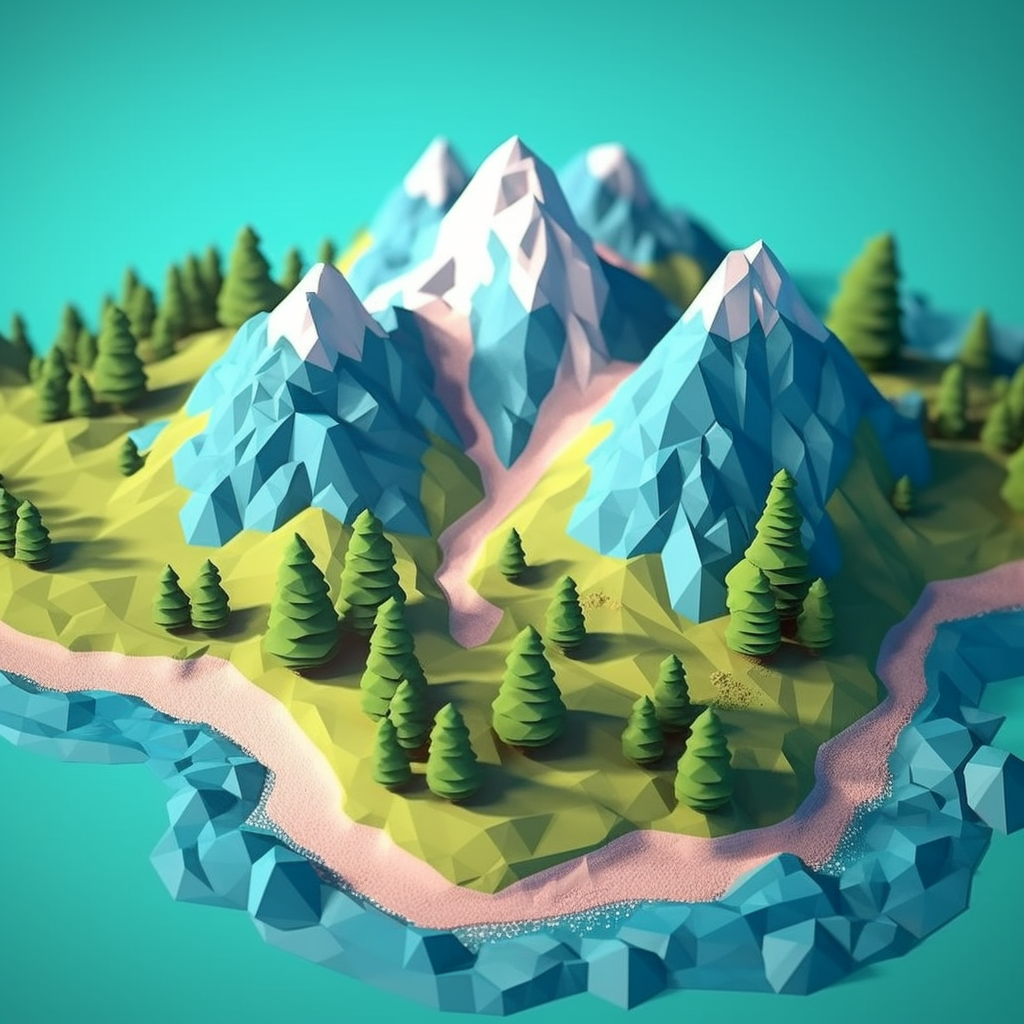
How To Create Low Poly Terrain on Blender
Learn how to create captivating low poly terrains in Blender with this comprehensive guide. Whether you’re a beginner or an experienced artist, discover efficient methods and techniques for crafting stunning landscapes.

Learn how to create captivating low poly terrains in Blender with this comprehensive guide. Whether you’re a beginner or an experienced artist, discover efficient methods and techniques for crafting stunning landscapes. From using modifiers to sculpting and reptology, heightmap-based creation, and proportion editing, this blog has it all. Dive in and unlock the secrets of efficient low poly terrain creation today
Blender, the popular open-source 3D creation software, offers numerous ways to create low poly terrains efficiently. In this comprehensive guide, we will explore the best methods and efficient techniques with elaborated steps for crafting stunning low poly terrains in Blender. Whether you’re a beginner or an experienced artist, this blog will serve as your primary source for all the information you need. Let’s dive in and explore the secrets of efficient low poly terrain creation!
Method 1: Using the Displace Modifier and Decimate Modifier
This method combines the power of the Displace and Decimate modifiers to generate low poly terrains with controlled geometry.
- Start by adding a plane to the scene: Press “Shift + A” and select “Mesh” – “Plane”
- In the Properties panel, go to the “Modifiers” tab and click “Add Modifier.”
- Choose the “Displace” modifier and create a new texture using a noise texture or an image texture.
- Adjust the texture settings to control the displacement effect and strength
- Apply the Displace modifier by clicking the “Apply” button
- Next, add the “Decimate” modifier to reduce the polygon count while maintaining the essential shape
- Experiment with the “Collapse” mode and the “Ration” parameter to achieve the desired level of simplification
Pro Tip: Ensure that the scale of the texture aligns with the size of the terrain and the desired level of detail. If the texture scale is too small or too large, it can result in unrealistic or distorted displacement effects.
Method 2: Sculpting and Retopology techniques
This method involves using Blender’s sculpting tools and retopology techniques to create low poly terrains with optimised topology.
- Start with a base mesh: Add a plane or use the “Add Mesh” menu to create a basic shape.
- Enter Sculpt Mode by selecting the mesh and choosing “Sculpt Mode” from the mode selector
- Use sculpting brushes to shape and mould the terrain, adding hills, valleys, and other features.
- To optimize the topology, switch to Retopology mode by selecting the mesh and going to the “Object Data Properties” tab.
- Enable “Retopology” and use tools like the “Draw” brush, “Poly Build,” or “Quad Draw” to create a new low poly mesh over the sculpted terrain.
- Make sure to create a clean, evenly distributed topology for optimal performance and aesthetics.
Pro Tip: While focusing on the overall shape and details of the terrain, it’s important to ensure that the topology follows a smooth and logical flow. Avoid creating random or irregularly distributed polygons as they can negatively impact the final result.
Method 3: Heightmap-based Terrain Creation
This method utilizes heightmap-based techniques to generate low poly terrains from grayscale heightmaps.
- Obtain or create a grayscale heightmap image that represents the desired terrain shape.
- Add a plane to the scene and scale it to the desired size
- In the Properties panel, go to the “Material Properties” tab and add a new material
- Assign the heightmap image to the material’s “Base Color” or “Displacement” channel
- Adjust the material settings, including scale and strength, to control the heightmap effect on the terrain
- Apply the Displace modifier or use the “Displacement” option in the material settings to generate the terrain
- To simplify the geometry, consider applying the Decimate modifier or performing retopology
Pro Tip: When obtaining or creating a grayscale heightmap image, ensure that it has a high enough resolution to capture the desired level of detail in your terrain. A low-resolution heightmap can result in a loss of fine details and make the terrain appear less realistic
Method 4: Proportion editing
This method involves sculpting a low poly terrain by manipulating individual vertices while using the Proportional Editing tool with a connected falloff, allowing for intuitive and controlled shaping of the landscape.
- Launch Blender and create a new project
- Delete the default cube by pressing “X” and confirming the deletion
- Press “Shift + A” and select “Mesh” > “Plane” to create a flat terrain
- Enter Edit Mode by pressing “Tab”
- Enable Proportional Editing by clicking the “Proportional Editing” button in the bottom toolbar and setting it to “Connected” mode
- Adjust the influence circle size using the mouse scroll wheel or the “+” and “-” keys
- Select a vertex, press “G” to grab it, and move it to shape the terrain. Continue moving vertices, adjusting the proportional editing circle size and shape as needed to sculpt the low-poly terrain.
Pro Tip: Experiment with different falloff shapes such as Sphere, Smooth, Root, or Random to influence the way nearby vertices are affected when manipulating a vertex. Each falloff shape produces a unique result, allowing for more organic and diverse terrain formations.
How we build terrain for our environment ‘Phantom’s Refuge’:
Phantom’s Refuge is one of our most celebrated environments which was also a trending space on Spatial. It showcases a stunning low poly terrain with vast rocky hills. The terrain’s captivating aesthetic was achieved through a combination of two techniques: Proportion Editing and Sculpting & Retopology. Our talented in-house 3D team masterfully created this low-poly landscape, complemented by a hyper-realistic texture.
Word of Advice:
With these methods and techniques at your disposal, you can create stunning low poly terrains in Blender efficiently. Whether you prefer the Displace and Decimate modifiers, sculpting and reptology workflows, or heightmap-based terrain creation, the possibilities are endless. Remember to experiment, explore, and refine your techniques to achieve the desired results.

The world's smartest 3D model optimizer
Convrse.pro is a cloud-based 3D optimizer, with over 1000+ users, that supports 40+ file formats including CAD files and comes with a file viewer, heatmap and a unique selective optimization feature. It optimizes 3D files faster than any other software out there.
Also Read:


