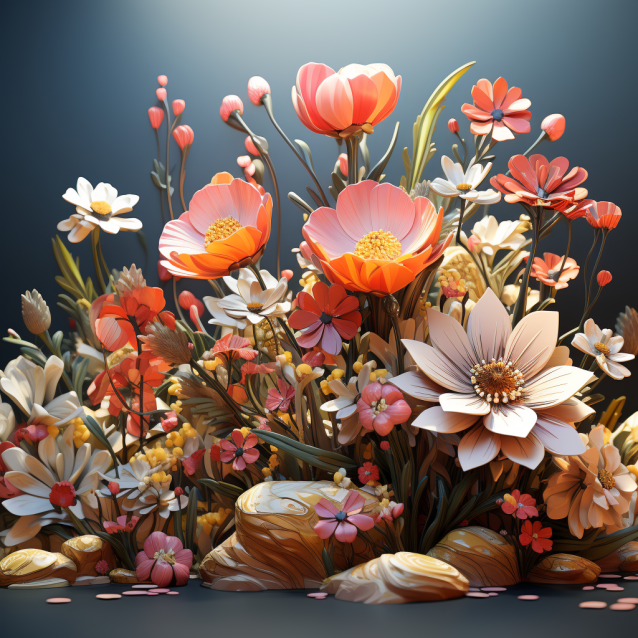
How to make a low poly flower on Blender?
Low poly flowers are popular for two main reasons the aesthetics and its adaptability. Low poly Flowers brings authenticity and an appealing experience to the table
Low poly flowers are popular for two main reasons -
- Style - The aesthetic look that a low poly flower provides with its geometric outer layer, brings authenticity and an appealing experience to the table.
- Adaptability - Low poly Flowers can be easily placed in a low poly natural environment or any other scene as per your requirement with flexible modification.
Starting your journey with a low poly flower can be rewarding as it'll help you establish the fundamentals of low poly modelling.
Later, you can imbibe yourself with confidence and move on to create other low poly models.
Let's learn how to make a low poly flower :-
Step 1. Press 'Shift+A', directed to mesh, and click on plane mesh which will be the base for your Low poly Flower.
Step 2. Enter the 'Edit Mode' by clicking on the 'Tab' key.
Step 3. Select the vertices of the plane and start extruding (Press E) and scaling (Press S) it. Give it the shape of a petal.
Step 4. Once the petals are made, move the cursor to its centre and Press 'Shift+A', direct to the mesh, and click on 'UV sphere' to add small spheres in the centre of the flower.
Step 5. Scale and adjust the sphere accordingly.
Step 6. Press 'Shift+A', direct to the mesh, and click on 'Cylinder' which will act as the stem of the flower. Scale and extrude the same to give it an appropriate shape.
Step 7. Use (Ctrl+J) to join all the petals, pollen, and stems of the flower.
Step 8. Go to the 'Shading' space and add 'Material' to your flower to add colours/ use flat colours.
Note: These are the general steps to be followed while making a low poly model -
•General Tab
Once you are on the interface of Blender, click on the 'general tab' to create a new project.
•Delete the default cube
Delete the default cube by selecting the option of 'delete' which can be viewed once you right-click upon it.
•Save your low poly model
Once your model is ready 'Save' and 'Export' it by clicking on 'File' so that you can modify and use it in other applications.
•Duplicate your model (as per requirement)
You can duplicate the low poly assets by clicking on them and Pressing 'Shift+D'
That's how your Low poly Flower is made. Numerous other styles and patterns are also available to design and model your Flower. However, all those styles would somewhere relate to the above steps.
Applications of low poly flower -
- Education - low poly flowers can be used for educating students about various concepts relating to botany, plant anatomy, ecology, and cell biology. This method will increase the concentration of students which will further lead to better grasping power.
- Background - To enhance and create a visually appealing background, low poly flowers are necessary. Imagine having a scene, where there are tall buildings and a sky without any natural assets - Isn't this boring?
To increase the immersion and engagement of the audience, details are required.
- Virtual cards and invitations - Flowers are usually printed on greetings and invitations. You can add the appealing style of low poly technology and use low poly flowers in those virtual invitations to create a better impact.
There are various applications of low poly flowers. However, the basic requirement that it fulfils is creating an aura that attracts and retains the audience.
Low poly flowers are not to be overlooked when it comes to detailing your virtual scene. This shows how intricate and exclusive the virtual space is.
Begin with low-poly flowers and start learning how to make other low-poly natural assets.
Remember to take one asset at a time for better finishing and understanding.
Refer to our blogs to make other low-poly natural assets.