How to make a low poly Rock on Blender?
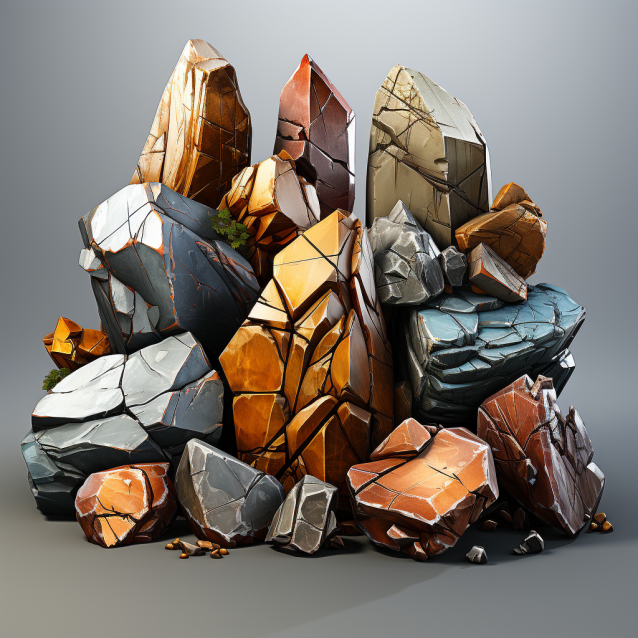
Low poly Rocks are 3D models designed in a simple way to represent the irregular shape of an actual rock. Low poly rocks help in enhancing the look of low poly nature. It brings more value to the scene in which it is actively being used.
Low poly Rocks are 3D models designed in a simple way to represent the irregular shape of an actual rock. Low poly rocks help in enhancing the look of low poly nature. It brings more value to the scene in which it is actively being used.
Rocks lying on grass give an authentic look to the Low poly nature. Art cannot be directed. Various other ways can also be followed as per your requirements. However, it shall amount to the steps given below in one or the other way.
Following are the steps to make a Low poly Rock :-
Step 1. Take inspiration - Try finding an image of a rock that relates to your imagination. This will help in making a low poly Rock that relates to your requirements.
Step 2. Press 'Shift+A', direct to the mesh, and click on the cube. This will be used for making Low poly rock.
Step 3. Scale the cube according to the size of the rock. Switch to sculpt mode by selecting the rock and clicking on the sculpt icon. Give the cube, the shape of a rock by modifying its vertices
Step 4. Enter the edit mode to add cracks and bumps to the rock to give it an authentic low poly look.
Step 5. Reduce the Polygon count by using the 'Collapse’ mode and adjusting the ratio.
Step 6. UV Unwrap - While selecting the faces of the rock, press 'U', then choose 'Smart UV Project' to unwrap UVs.
Step 7. Further, create a material for the rock you have created by clicking on Material Properties directed to the '+New' button.
Step 8. You can further add colour to the rock. To ensure that the texture is smooth and attractive.
Note: These are the general steps to be followed while making a low poly model -
•General Tab
Once you are on the interface of Blender, click on the 'general tab' to create a new project.
•Delete the default cube
Delete the default cube by selecting the option of 'delete' which can be viewed once you right-click upon it.
•Save your low poly model
Once your model is ready 'Save' and 'Export' it by clicking on 'File' so that you can modify and use it in other applications.
•Duplicate your model (as per requirement)
You can duplicate the low poly assets by clicking on them and Pressing 'Shift+D'
Following are the applications of low Poly Rock -
- Video Games - Low Poly Rocks are often seen in video games to give the virtual environment a real look. No part of the Low poly nature should be overlooked as 'Details' are the assets of qualitative work.
- Architecture - In visualising homes, apartments, skyscrapers, and offices, the design should give the overall look of the actual project being undertaken. Hence, adding rocks to the surrounding roads, lawns, or gardens can give a real and believable look to the client. This helps in easy communication regarding the project with the client which further facilitates better understanding.
- Education - Historians and geology department teachers can use this technology to educate their students in detail about the existence of different kinds of rocks, their properties, and their uses. They can enhance their way of teaching using this technology.
- Animation - Low poly Rocks can be used in animations and films to give the landscape a quality look. To showcase the details and every small element, low poly rocks can be strategically placed.
Conclusion - Low poly Rocks have various applications as per one's requirement. These rocks bring a value-added advantage as details are not to be overlooked. Less is more. So it is with low poly rocks.
Use these low poly rocks wisely, but don't overdo it. Ensure to maintain a balance among all the low poly assets you are using for your scene and you are good to go!