How to make Low Poly Characters on Blender?
A low poly model is a polygon mesh created in 3D computer graphics. Know more about its advantages and a step-by-step process to create a character using Blender.
Uncertainty – the most underrated thought that drives us crazy, especially after the inclusion of AI into Photoshop. The time you have given to inculcate and upskill yourself won’t go in vain as we have Low poly Models. All you need is the knowledge and process of working with low-poly 3D models.
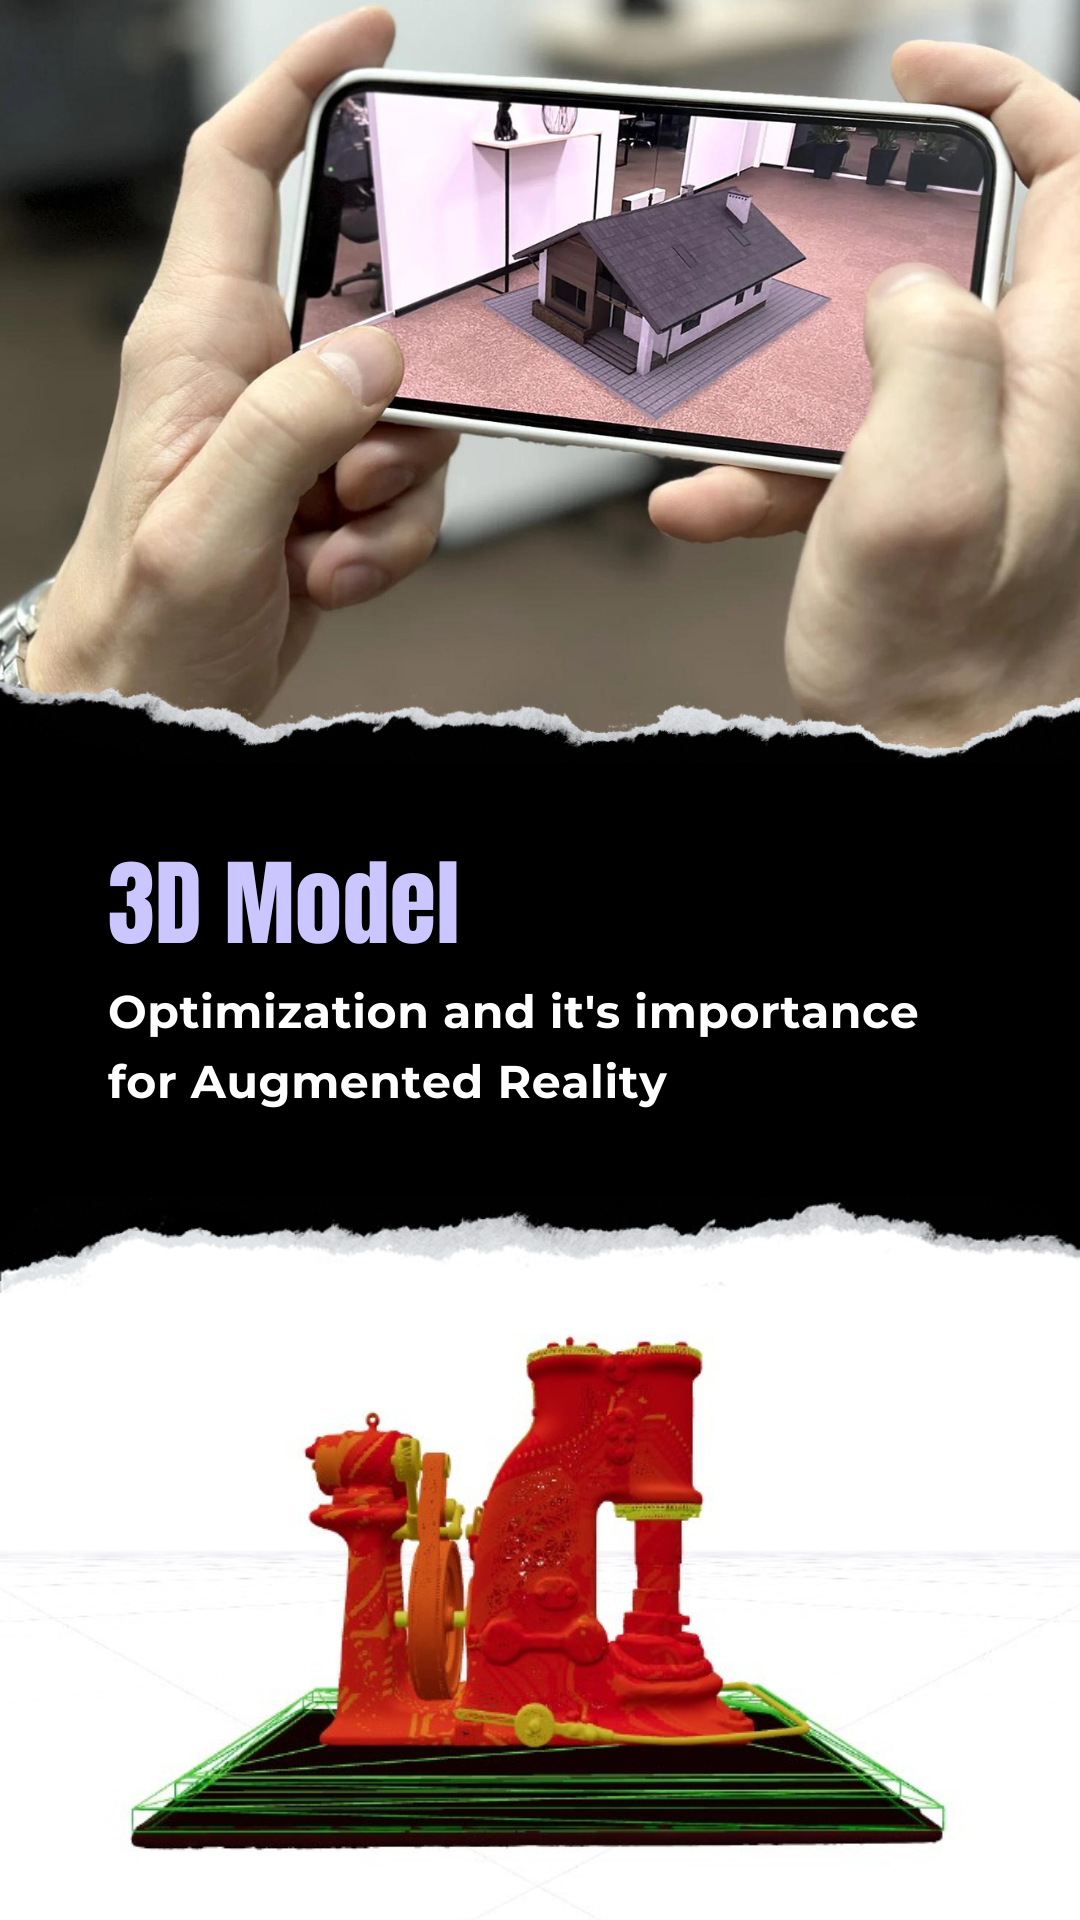
Not to forget, creativity is an inbuilt requirement. It is a value-added advantage in the recent NFT projects. For example - Snow Leopard Society, a Clothing brand based in New York City, used low poly and 3D modelling to come up with an explicit way to showcase their clothing products.
(Source: queppelin.com)
So, Low poly modelling is definitely the next big thing which has already made its mark in numerous huge industries.
Let's begin with the Basics,
What is a low poly model and is it competitive?
A low poly model is a polygon mesh created in 3D computer graphics which is used to create real-life objects with less number of polygons.
With versatile inventions and innovation, Low poly models have taken a massive place in various industries such as gaming, architecture, vlogging, designing and more for engaging and attention-grabbing visuals.
Let us know more about the benefits of the Low poly model –
Nobody likes to wait while scrolling the web or playing a game. Anything that makes you wait is something you never bounce back to. Low poly Models are the best solution as they are lightweight, easy to render and suitable for mobile games. Low poly Models are easy to work with as they take very little time to load and work. This is beneficial for search engines and real-time applications when it comes to gaming and virtual reality. It is going to be the point of attraction where Metaverse is going to be the most sophisticated and most valuable technology. These are not the only reasons that the Low poly Models are appealing.
It is valuable because of its visual appearance and texture. We get to experience the craze and fan following of Anime characters and series. Do we realise that Low poly modelling?
Is having its unnoticed base there as well?
"Beauty is in the eye of the beholder" - is indeed suitable for Artists and Designers who know how gracefully Low Poly Modelling can be used to their advantage.
Why learning low poly Models would be beneficial to artists and designers?
Artists and designers can have a great hand at low poly models as it can make them get diverse projects in different industries which can be used for multiple purposes. Having this skill will never make you jobless and will push your boundaries to work with different sectors including architectural visualisation, product designing and artistic creation.
What is the artistic aspect of low poly models?
Art can never be explained, it can only be expressed. So it is with low poly Models. Low poly helps us make real-life objects, but the human touch that penetrates life into the model depends on visualisation, colour sense and geometric shapes which are versatile. It is incredible to experience the solitary effect which low poly models bring with them.
The theory of the low poly model is ever-evolving. Let's know how to practically create a low poly character on Blender.
Blender is a full-fledged software tool used for creating 3D visuals, graphics, animated films, interactive graphics and more.
Step 1. Image conceptualization
The first step involves taking inspiration from any image including a drawing, doodle, pictures, painting etc., which serves as a starting point for creating a low poly character.
Step 2. Scene Controls
Reload/Restart the blender or click on the file and tap on 'New' to obtain a clean scene.
This is essentially done to avoid old data being merged with the new data. This can be done using two primary settings, where scene 'scale' defaults to 1.000 and 'Unit' of measurement defaults to None.
Step 3. View Controls
It is also important to switch between 'Perspective' and 'Orthogonal' views. It is to be done to ensure that additional changes are
viewed without disregarding any effect associated with the three-dimensional models.
It must be noted that in the absence of a 'Perspective' view, the character appears to be Flat.
Step 4. Location of the Cursor
Before proceeding with modelling, ensure that the cursor is placed at the 'grid centre'. Placement of the cursor is essential because all the new additions take place at the cursor's location.
Two ways to relocate the cursor is as follows -
- The existence of a centred object - default cube
- The usage of set coordinates.
Step 5. Viewport Shading
This is the step which shows how the model appears in a three-dimensional view. It further has four options which showcase the different visual appearance of the model.
- Bounding box - This feature renders the model as simple boxes based on the area it occupies.
- Wireframe - This portrays the underlying structure of the model which helps know how the polygons flow around the object.
This gives us an advantage in knowing how the edits will affect the underlying structure.
- Solid - It helps in representing the model in a solid figure where its colour can be tinted.
- Texture - it displays the images mapped to the model.
Step 6. Introduction of objects in the Scene.
We can make a normal cartoon structure which shall have a round face, rectangular body and legs with triangular hands and round palms. We also need two round eyes for the character and nostrils with lips.
To add an object to the scene, press 'Shift+A'.
In the add menu tab, click on 'Mesh'.
Click on the appropriate mesh such as UV sphere, cone or cube as and when required.
ToolShelf will be visible on the left which showcases the properties of the mesh selected.
Step 7. Initial editing of the object's properties
If the ToolShelf of the respective object is not visible, press 'T' to view the same.
You can change the size and segment of the object using ToolShelf. Not only that, various options are available in ToolShelf, depending upon different objects which can be changed based on your preferences.
Step 8. Duplicate
Now in our case, we need a pair of hands, palms and legs. So smart editing can be done where one object is made and copied to form a pair. In Blender, the concept of Copy/Paste isn't applicable as the object in 3D view is 'context sensitive'. We, henceforth use 'Duplicate' or 'Duplicate Linked' for obtaining a copy of an existing object.
Here, Duplicate means a copy of an existing object can be obtained and changes can be made independently without affecting the original object.
Duplicate Linked means a copy of an object can be obtained. Any change made, either in the original object or the substantial copy will result in the same changes across all such objects.
To create a duplicate copy, RMB select the sphere and press "Shift+D". A copy of the original object shall be obtained. RMB click to confirm and release the object.
Step 9. Object manipulation and joining the objects together.
After manipulating objects according to the character's look, we shall join them by using the 'Join' command which can be done by using 'Shift+RMB' and selecting both the objects. Then click on 'Ctrl+J'. And you shall successfully join the objects to form your character.
In the end, you can see the presence of the original cube, which can be removed by using the 'Move to Layer' panel.
We can further go ahead and add colours to our character and experiment to see what looks appealing.

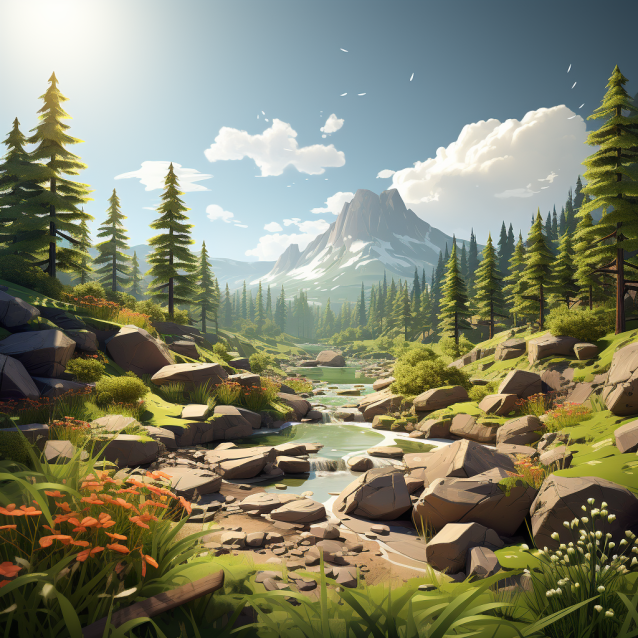
After getting thorough with the basics of Low Poly Modelling, start making small but detailed low poly Palm trees, grass and terrains. This will give you confidence and knowledge about how professional designing is done in reality.
Wondering why you are supposed to start with these specifically?
The answer is simple - If your basics are strong, you can make any complicated design just by sticking to your foundation principles.
Also, we have made blogs for you on all three Low poly Modelling designs to ensure that you don't get stuck while making them.
In this blog, we have tried to give you an overview of how low poly models work including their simple meaning and advantages.
Low poly models are being incorporated at a very fast rate due to various attributes attached to them. So, if you are creative and have space for innovation and professional growth, a Low poly model using Blender can do magic for you.