How To Create A low Poly Palm Tree On Blender

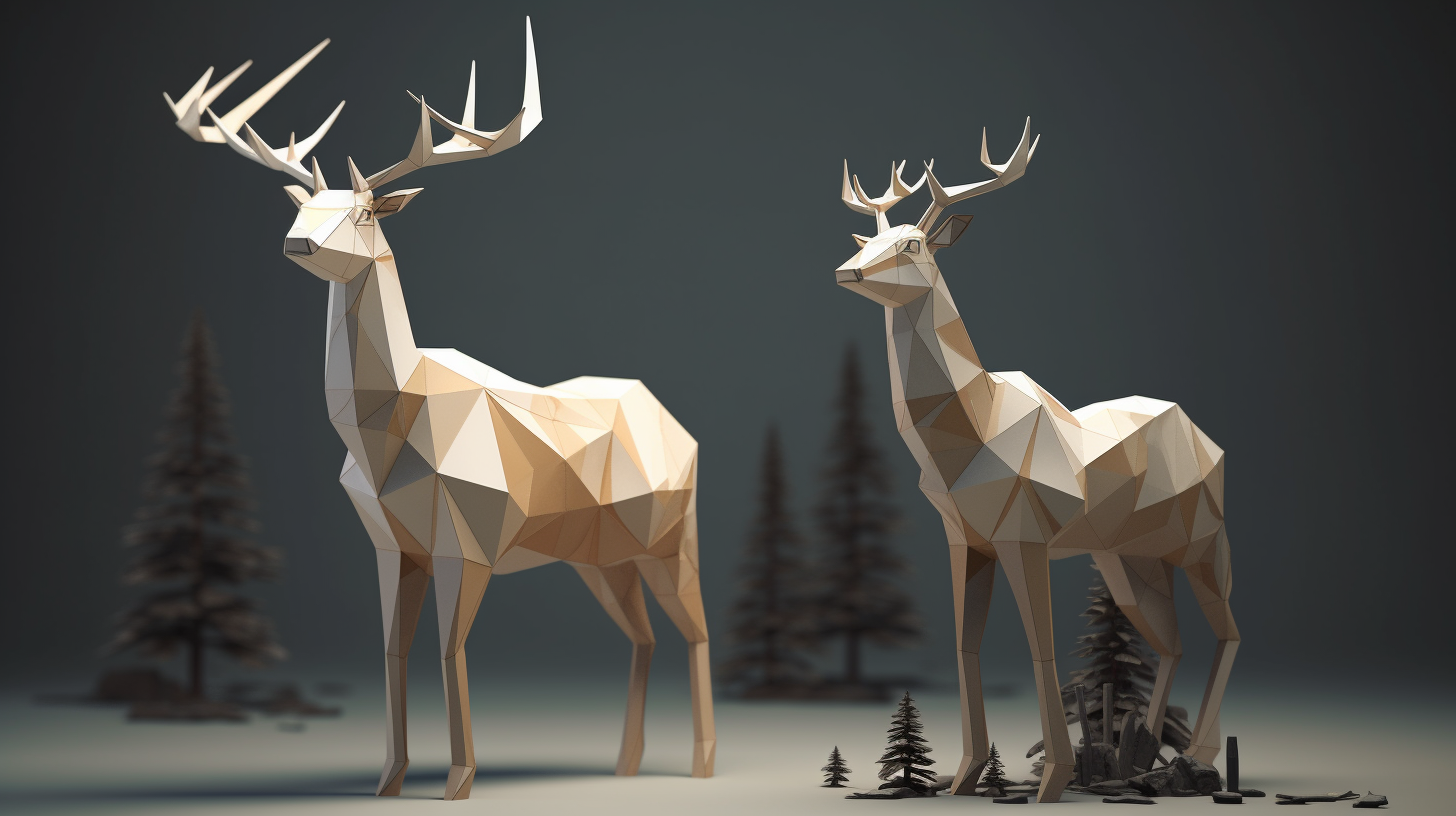
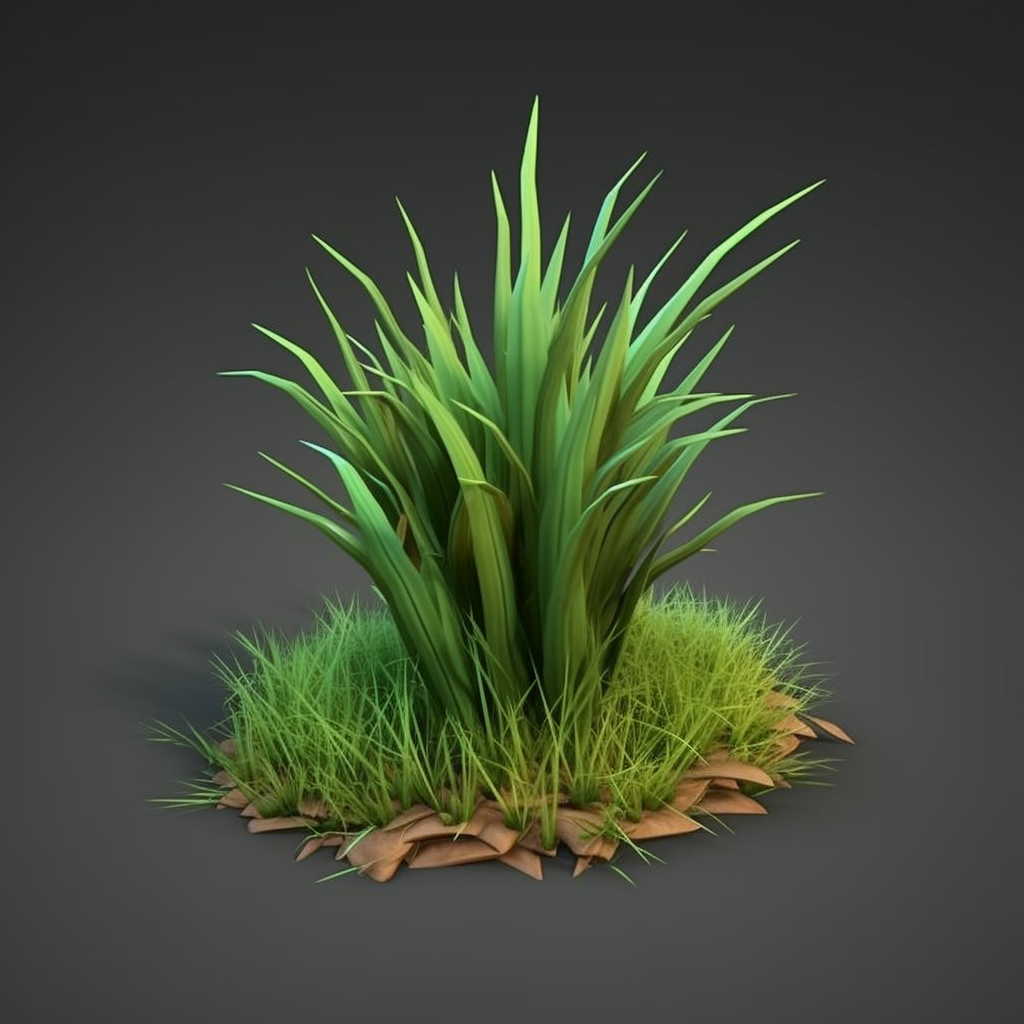
Blender, the popular 3D modelling software, offers endless possibilities for creating stunning visuals. One popular style in the world of 3D modelling is low poly, characterised by its simplified geometric shapes and minimalistic aesthetics. In this blog post, we’ll guide you through the process of creating a low poly palm tree using Blender. So, grab your virtual shovel and let’s dig in!
What are Low Poly Models?
The term “poly” comes from “polygon,” which is a shape made up of straight lines that connect at different points. In 3D modelling, these polygon shapes are used to create the surface of an object. A “low poly” model simply means that the model has a low number of these polygon shapes which makes the model less complex and easier to work with.
How do you create a Low Poly Palm tree on Blender?
Blender is an open-source 3D computer graphics software. Blender supports the entire 3D creation pipeline as it runs through 3D modelling, rigging, animation, simulation, rendering, composition, and motion tracking. Creating low poly models on Blender is something every 3D designer roots for and we will help you achieve those targets. The below-mentioned steps will help you create a low poly palm tree:
Step 1: Setting Up the Scene
To begin, launch Blender and create a new project. Delete the default cube by selecting it and pressing the ‘X’ key, then confirm the deletion. Next, navigate to the “Scene” tab in the properties panel (usually located on the right side of the screen) and set the background colour to a light blue or any other soothing colour reminiscent of a tropical setting.
*Pro Tip: When Setting the background colour it's important to consider the impact of colour on the overall mood and perception of your 3D scene. Also, pay attention to the intensity and saturation of the chosen colour.
Step 2: Creating the Palm Tree trunk
Start by adding a cylinder mesh to the scene. Press Shift + A to open the Add menu, and select “Mesh” followed by “Cylinder.” Adjust the properties of the cylinder, such as the radius and height, to match the proportions of a palm tree trunk. You can do this in the “Transform” tab of the properties panel.
*Pro tip: Make sure that you are paying attention to the vertex count and subdivision levels of the cylinder. It’s essential to strike a balance between having enough detail for realistic rendering and keeping the scene manageable in terms of performance and complexity.
Step 3: Shaping the Palm Tree Leave
To create the palm tree leaves, we will use the “Sapling” add-on, which comes bundled with Blender. Enable the add-on by going to the “Edit” in the top menu, selecting “Preferences,” and then navigating to the “Add-ons” tab. Search for “Sapling” and enable the checkbox next to it. Close the preferences window. Now, in the 3D viewport, press Shift +A to open the Add menu and select “Curve” followed by “Sapling Tree Gen.” This will add a basic tree structure to the scene. Adjust the settings in the “Sapling” tab of the properties panel to control the number of branches, their thickness and overall shape. Experiment with different settings until you achieve the desired palm tree look.
*Pro Tip: When adjusting the settings in the “Sapling” tab of the properties panel to control the number of branches, their thickness, and overall shape, pay attention to the randomness and variation in these parameters.
Step 4: Joining the Trunk and Leaves
With both the trunk and leaves created, it's time to combine them into a single object. Select the leaves (tree structure) first, followed by the trunk. Press Ctrl + J to join the selected objects together.
*Pro Tip: After joining the trunk and leaves using Ctrl + J, it's important to double-check the object’s origin point and adjust it if necessary.
Step 5: Simplifying the Geometry
To achieve the low poly aesthetic, we need to reduce the polygon count. With the combined trunk and leaves selected, navigate to the “Modifiers” tab in the properties panel. Click on “Add Modifier” and choose “Decimate.” In the decimate modifier settings, adjust the “Ration” parameter to reduce the number of polygons while still maintaining the overall shape of the palm tree.
*Pro tip: When adjusting the “Ratio” parameter in the Decimate modifier settings to reduce the number of polygons. It’s important to strike a balance between polygon reduction and preserving the essential shape and details of the palm tree.
Step 6: Unwrapping and Texturing
To give your low poly palm tree some colour, it's time to unwrap the UVs and apply textures. Select the tree object and switch to the “Edit Mode” by pressing Tab. Press A to select all vertices, then press U and choose “Unwrap.” This will create a UV layout for your palm tree. Now, in the “Shading” workspace, create a new material for the tree by clicking on the “+” button in the materials tab. Add a texture by clicking on the “Base Colour” slot and selecting “Image Texture.” Load a palm tree texture image or create one yourself. Adjust the mapping and scaling of the texture to fit the UV layout.
*Pro Tip: Pay attention to the seam placement and orientation during the UV unwrapping process. Seams are used to cut the 3D model’s surface by flattening it into a 2D UV layout. Placing seams strategically can greatly affect how the texture wraps around the model and how visible any potential seams might be.
Step 7: Final Touches
To complete the scene, consider adding a ground plane and other elements such as rocks or a beach. Experiment with lighting to create an appealing atmosphere. You can also animate the palm tree.
*Pro Tip: Pay attention to the interaction between the palm tree and the ground or any other objects you add to the scene. This interaction can greatly enhance the realism and visual coherence of your final result.
Environments where you can use a low poly palm tree:
- Beaches and Coastal Areas:
Adding Palm trees to virtual environments depicting sandy beaches, oceanfronts, or coastal areas creates a sense of relaxation and vacation vibes.
2. Tropical Islands:
Virtual environments representing tropical islands or exotic destinations can greatly benefit from the inclusion of palm trees to establish an authentic and immersive atmosphere.
3. Jungle and Rainforest Scenes:
In virtual environments that showcase dense jungles or rainforests, palm trees can be used alongside other lush vegetation to create a rich and diverse ecosystem.
4. Garden and Landscape design:
In architectural visualizations of garden designs, palm trees can be strategically placed to enhance the overall aesthetics. They are often utilized to create a tropical-themed garden or to provide a focal point in landscape compositions.
5. Poolside or Outdoor Recreational Areas:
Palm trees are frequently seen surrounding pool areas or outdoor recreational spaces in resorts or private properties. Incorporating palm trees in virtual environments representing these settings can convey a sense of luxury, and relaxation.
6. Exotic or Fantasy Worlds:
Palm trees can also find their place in virtual environments that aim to create exotic or fantastical settings. Whether it’s a magical island, an alien planet, or a mystical realm, palm trees can add a touch of otherworldly charm.
Environments by Convrse which use Low Poly Palm Tree:
- Island:

This is a virtual environment of a luxurious island resort with lounge areas surrounded by huge palm trees.
2. Ten BKC

The Ten BKC project by Adani Realty was transformed into a gamified metaverse experience by Convrse, marking the first foray of a real estate company into the metaverse. In this virtual environment, the pool area of Ten BKC was adorned with lush greenery and with large low-poly palm tree structures.
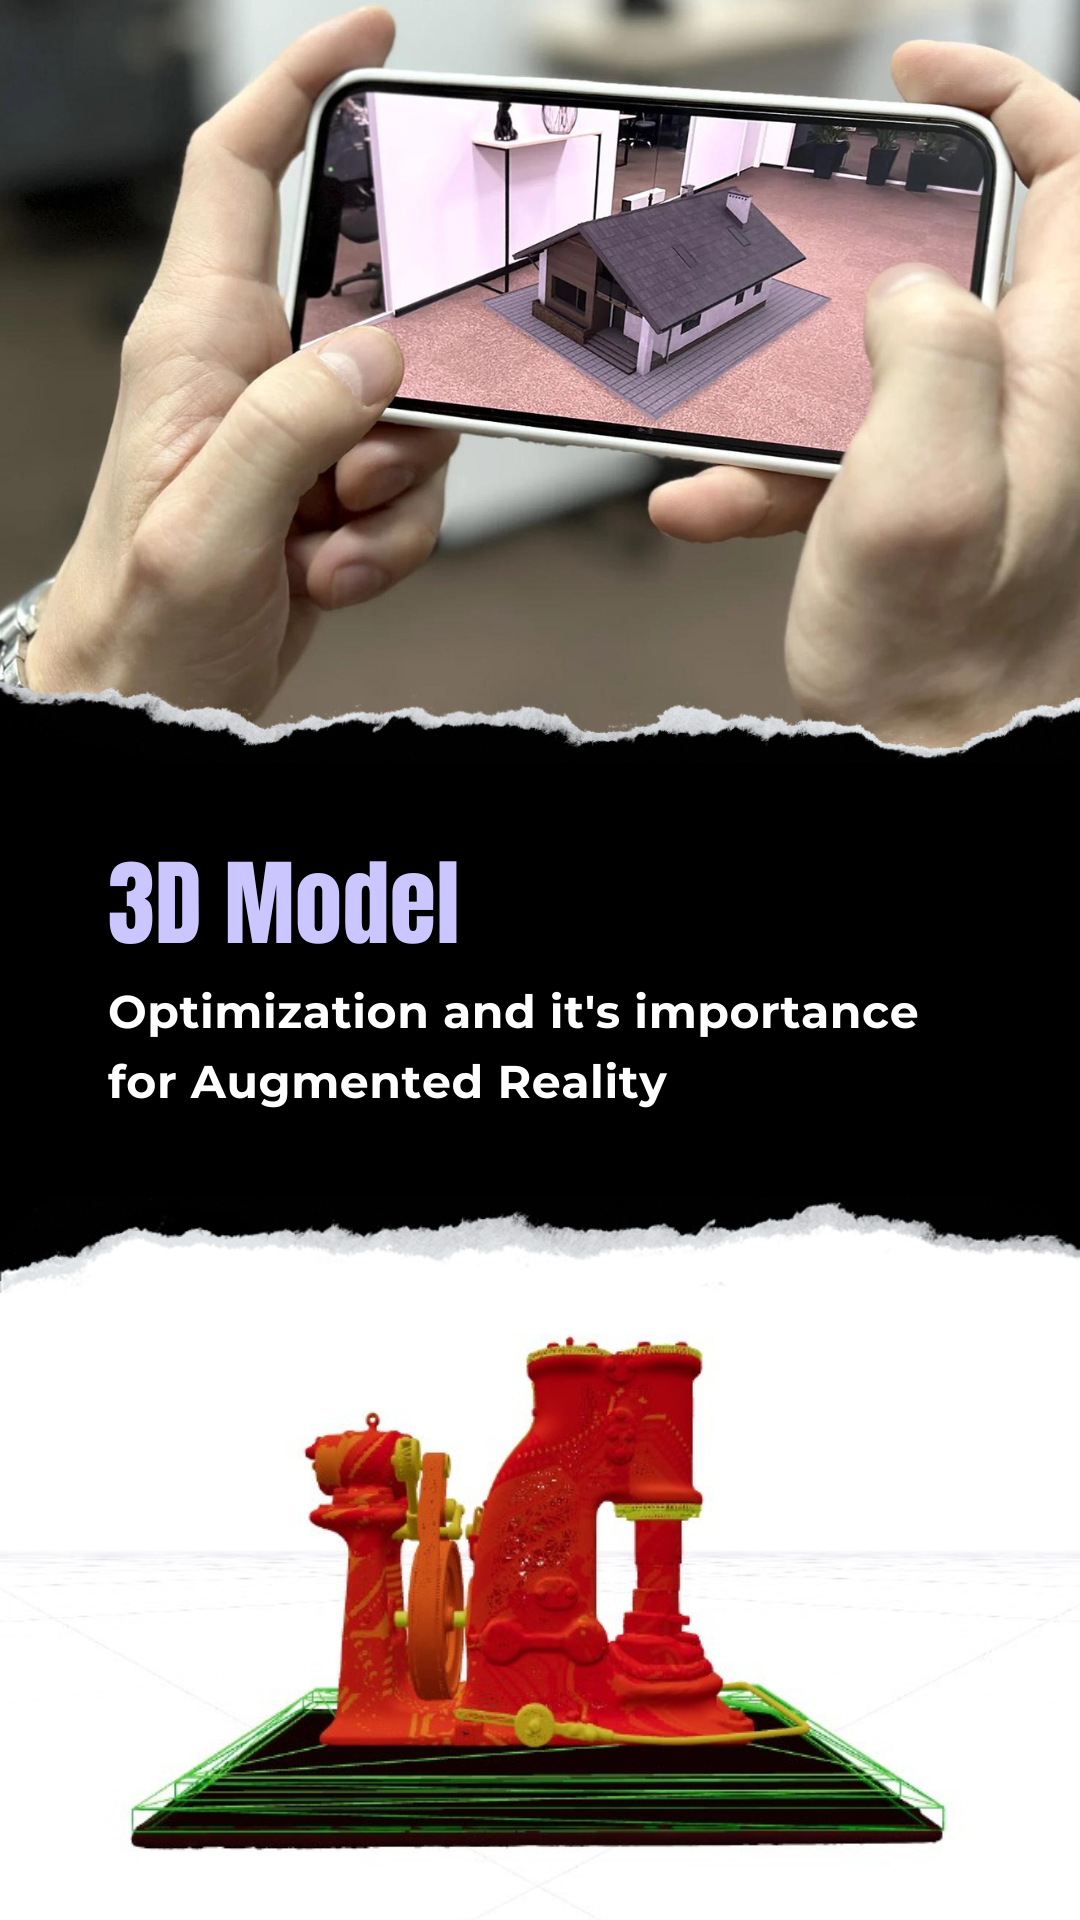
3D mesh optimization:
There are times when low poly wont be your first preference and you want to make something more detailed, more realistic, and high poly is the go to choice. But you realise that in order to make it comaptible acorss platforms the model requires optimization to meet deployment standards and that is where 3D mesh optimization becomes an important step.
However, there are a few problems associated with 3D Mesh Optimization which are as follows -
1/ Aggressive Optimization - Sometimes, the 3D mesh optimization may lead to a loss of fine details. This leads to compromising on the appearance of the mesh.
2/ Altered Topology - There are cases where in the urge of simplifying the mesh, topology changes. This creates a problem as certain topology features are required for definite applications such as animation, games, etc.,
3/ Interoperability - The rendering tools and 3D software have different features. Therefore, it's important to note that the optimized mesh is compatible with the software. This is crucial to ensure effectiveness and efficiency.
4/ Visual appearance - 3D Mesh Optimization can affect the texture coordinates while reducing the file size of the mesh. This reduces the quality of the mesh making it visually unappealing.
5/ Balancing - It is quite challenging to strike a balance between the reduced size of the mesh for storing or transferring and maintaining the quality of the mesh. Therefore, optimization is a critical step that must be done carefully.
6/ Shape changes - During optimization, a common problem that comes across is the change in the geometrical or complex curves and shapes. The curves and shapes give the required look to the mesh, but optimization might change it altogether.
7/ Inconsistent edge-flows - Processes such as Animation depend highly upon consistent edge-flows of the mesh. The consistency gets interrupted and manipulated during the optimization.
These are some of the problems and challenges that are present during optimization but can be tackled easily with the right tools, methods, and techniques.
Convrse.pro is is one such tool that can help you avoid all such problems.
Convrse.pro is world's first smart mesh optimizer for 3d creators to get near real-time optimization results for instant deployment across any pltform.
The tool is:
- AI-powered: advanced neural networks and AI algorithms preserve 3D models' shape, textures and integrity throughout optimization.
- Focused on VR and Real-Time 3D: Powers real-time ready assets, unlocking immersive experiences to be shared and monetised.
- Supports 30+ file formats: FBX, GLB, GLTF, OBJ, and CAD fiels like DWG, DXF, STL & more.
The tool bridges a crucial gap forthe 3D comminity between content creation and deployment. This wide gap consumes hundreds of man-hours in manual optimization, slows down progress, and keeps 3D creators and agencies from taking on more and better projects.
The world's smartest 3D model optimizer
Convrse.pro is a cloud-based 3D optimizer, with 1000+users, that supports 40+ file formats including CAD files and comes with a file viewer, heatmap and a unique selective optimization feature.
Learn Next: